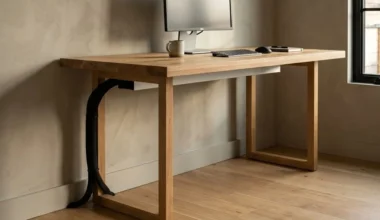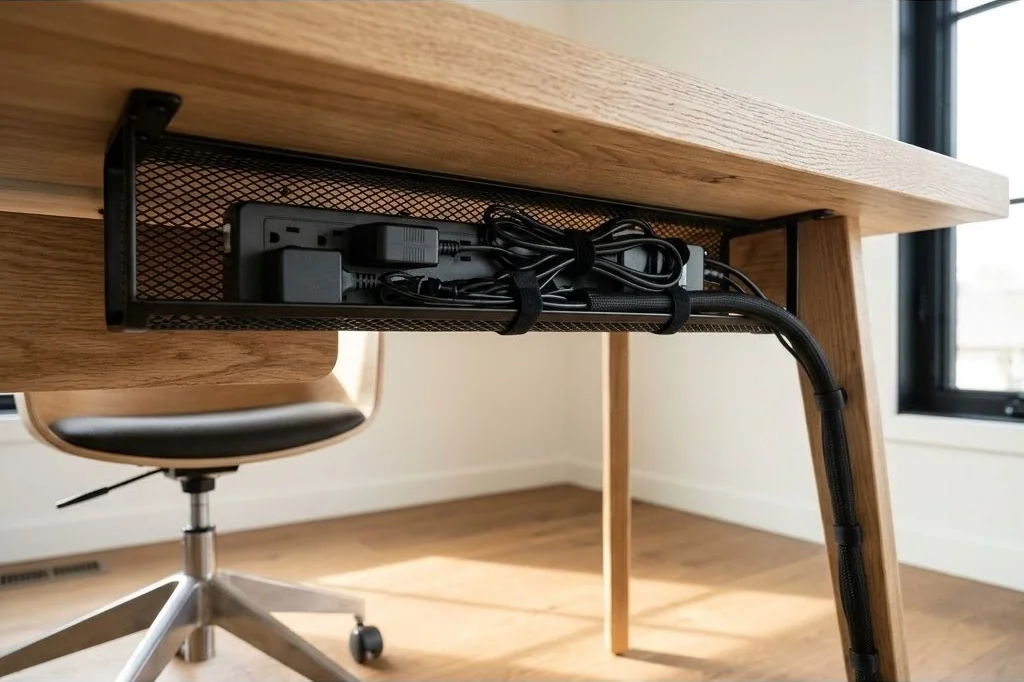
In a modern Scandinavian office, the open expanse of flooring beneath the desk is an integral element of spatial minimalism. When power bricks, extension cables, and surge protectors lie tangled across floorboards, they collect dust bunnies, impede vacuum cleaners, and create visual anxiety. A truly refined desk setup requires lifting every electrical component off the ground entirely.
Under-desk cable trays and mechanical power strip mounting form the unseen infrastructure that makes minimalist aesthetics possible. When executed with precision, you can sit down, glance beneath the desk, and see only clean architectural lines and clear floorboards. To explore how intentional infrastructure transforms home workspaces, read our foundational articles on the Ornista workspace architecture index.
Key Takeaways
- Securing all power distribution under the desk keeps floors completely clear for robot vacuums and foot comfort.
- Steel wire mesh trays offer superior passive ventilation, preventing high-wattage laptop adapters from overheating.
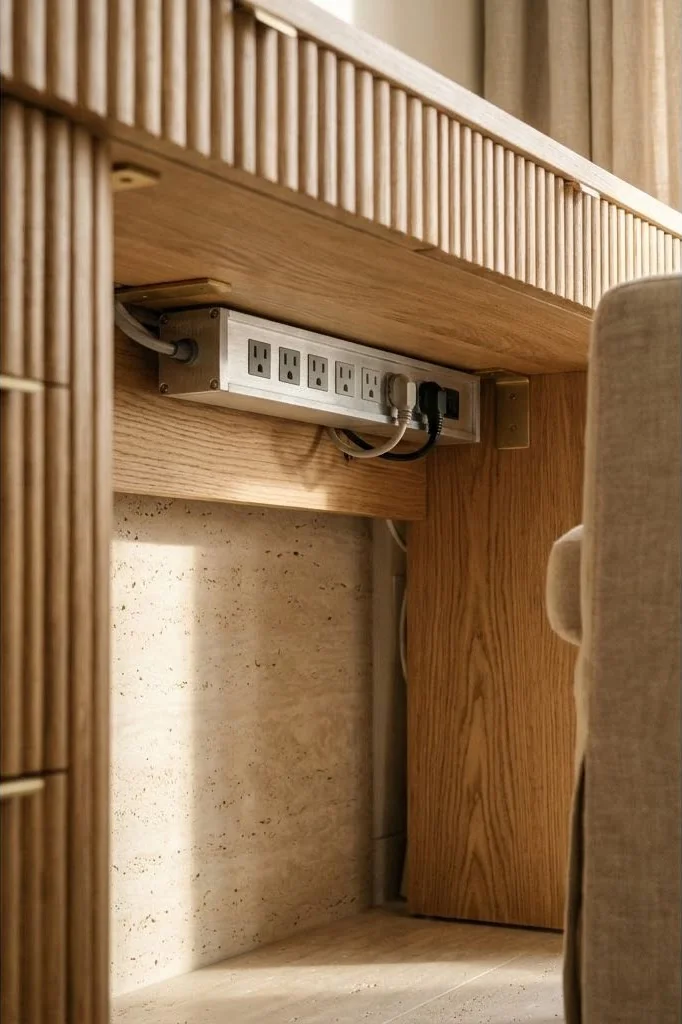
- Mounting power strips with direct mechanical wood screws provides permanent rigidity compared to failing adhesive strips.
- Labeling power bricks at both ends simplifies troubleshooting and cable swaps without tracing tangled lines.
- Integrating drip loops into excess power cord coils prevents strain on delicate device adapter ports.
Comparing Cable Tray Designs: Wire Mesh Versus Sheet Metal
Selecting the right under-desk cable tray depends on the number of electronic peripherals and the heat output of your charging bricks:
1. Steel Wire Mesh Trays: These are the preferred choice for high-performance creative workstations. The open lattice grid allows air to circulate freely around warm laptop charging bricks and monitor transformers, preventing thermal throttling. Furthermore, the wire grid provides dozens of natural fastening points for hook-and-loop straps.
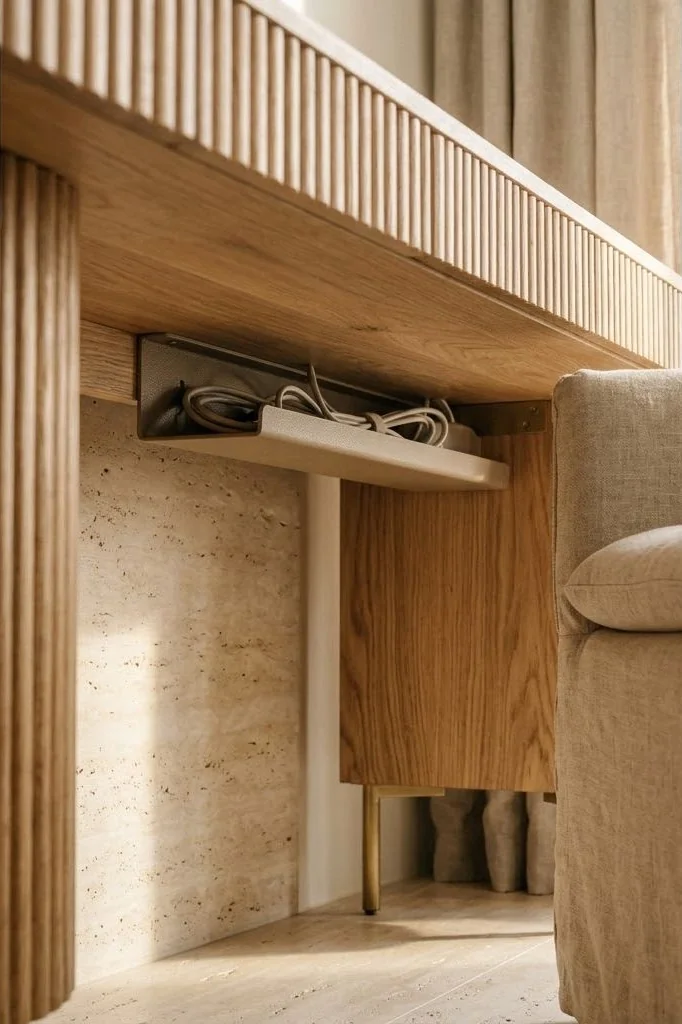
2. Enclosed Sheet Metal Channels: These trays feature solid front and bottom panels with rear slots. They provide an ultra-clean appearance from any angle, making them ideal for desks placed in the middle of a room. However, their enclosed nature traps heat, making it crucial to avoid overcrowding high-wattage power supplies.
For exact spacing rules and weight thresholds, consult our practical manual on under-desk cable management tray setup.
Mechanical Mounting Protocols: Screws Versus Clamps
How you attach your cable tray to the desk depends on whether you are working with a solid timber slab or a rented furniture piece:
Direct Screw Mounting into Solid Hardwood: For solid oak or walnut tops, wood screw mounting provides permanent, wobble-free stability. Always drill small pilot holes to prevent splitting the timber grain. Use pan-head wood screws with a length that penetrates approximately half to two-thirds of the desktop thickness, ensuring the screw never breaches the upper polished surface.
Clamp-On Trays: If you prefer not to drill holes into a pristine vintage table, clamp-on cable trays utilize padded thumbscrew brackets that grip the rear desk edge. Ensure the clamps feature dense rubber padding to protect oiled timber finishes from indentations.
Power Strip Integration and Orientation
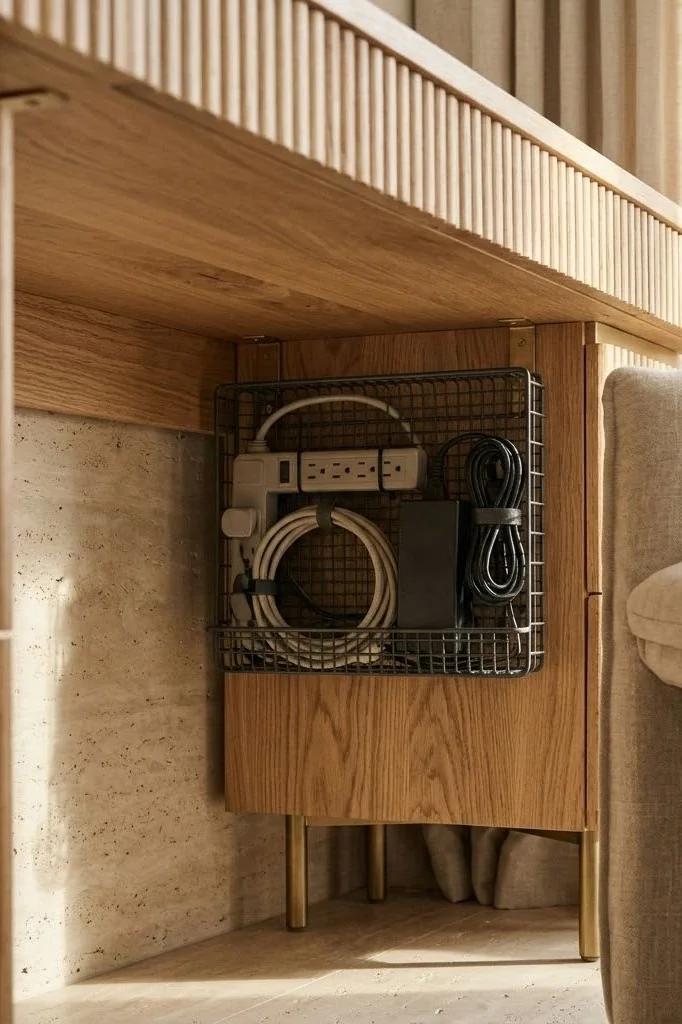
The surge protector or power distribution unit (PDU) is the electrical nexus of your workstation. Avoid consumer power strips with tightly clustered outlets that cannot accommodate wide transformer blocks.
Choose an industrial aluminum-housed PDU with widely spaced, 90-degree rotated outlets. Mount the strip directly to the underside of the desk top adjacent to the cable tray, rather than dropping the strip loose inside the basket. Mounting the strip securely allows you to plug and unplug chargers with one hand without the strip shifting or rattling. For related wire routing tips across monitor brackets, review our guide on monitor arm cable management techniques.

Taming Adapter Bricks and Excess Slack
Once the power strip is secured, managing excess cable slack requires systematic grouping. Bundle cords by voltage type: keep low-voltage data cables (USB-C, HDMI, audio lines) separated from high-voltage AC power cords to minimize electromagnetic interference.
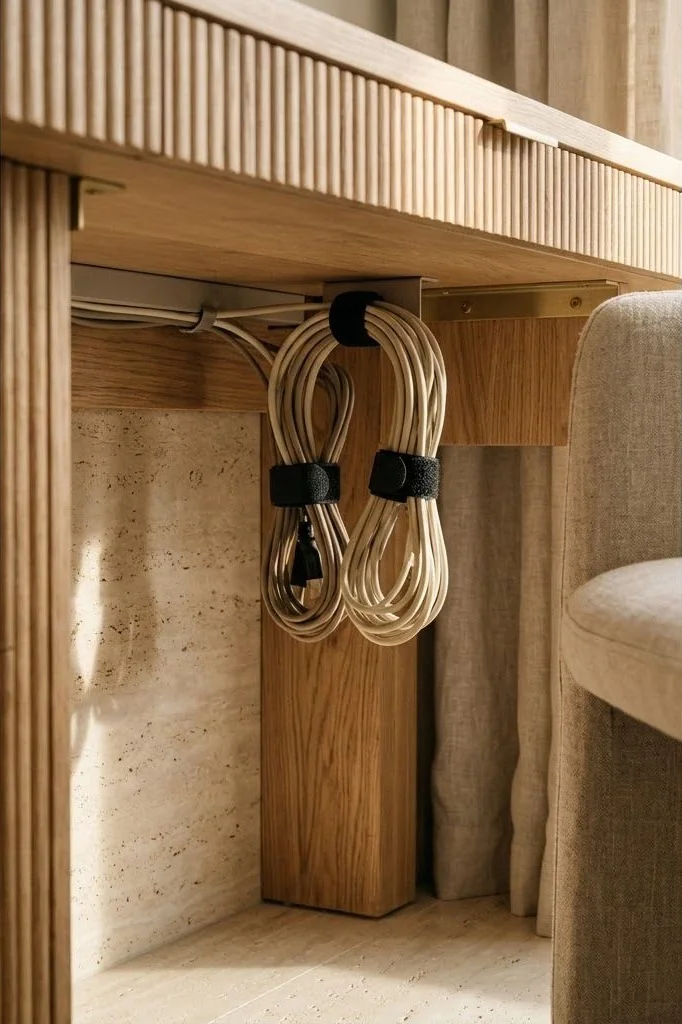
Coil excess cord lengths into neat figure-eight or oval loops, binding them tightly with fabric hook-and-loop ties. Never wrap cables in sharp, right-angle bends, which can fracture internal copper strands over time. Rest heavy power bricks flat along the bottom of the wire tray, securing each brick with a strap so it cannot shift when raising or lowering a motorized desk.
Designing for Future Hardware Upgrades
A successful cable infrastructure accommodates new equipment without requiring a complete teardown. Leave two empty outlets on the power strip for temporary accessories, such as camera battery chargers or test devices.
Label each cable near its plug with a discrete printed label or color-coded band. As emphasized by home renovation experts at Dwell, investing three hours into structural cable management creates an enduring framework of daily calm, saving countless hours of frustration throughout years of hardware updates.

Core Spatial Principles for Nordic Workspaces
To ensure your workspace layout retains its serene balance through evolving seasons and technology updates, anchor your setup around three timeless architectural guidelines:
First, maintain visual lightness by preserving negative space. Resist the urge to fill every square inch of your desktop with gadgets or decorative items; bare wood surface is itself a restorative visual rest for tired eyes. Second, establish consistent material dialogue throughout the room. If your desk features white oak, echo that pale grain in picture frames, floating bookshelves, or flooring trims. Third, hide technical friction completely: ensure that all power distribution, charging cables, and peripheral transformers remain entirely invisible from normal standing and seated sightlines.
Cultivating Enduring Harmony in Intentional Workspaces
Creating an inspiring Scandinavian workspace is not a fleeting weekend project or an exercise in surface styling. It represents a deeper architectural dialogue between physical form, natural textures, and the mental rhythms of daily work. When you eliminate chaotic cable nests and replace synthetic surfaces with honest, living timber, the entire emotional resonance of the room transforms.
Each morning becomes an opportunity to step into an environment specifically engineered to protect mental clarity and nurture deep creative immersion. By investing care into fine details – from tactile wood grains and recessed cable trays to balanced 2700K ambient illumination – you build an enduring sanctuary that honors both personal wellbeing and professional craft.
Frequently Asked Questions
Can I use double-sided foam tape to mount power strips beneath a wood desk?
No; the combination of heat generated by power bricks and gravitational pull will inevitably cause foam adhesive to fail within a few months. Use mechanical screws or heavy-duty brackets.
How much clearance is required between the underside of the desk and the cable tray?
Maintain at least 3.5 to 5 inches of vertical clearance to allow easy insertion and removal of bulky three-prong transformer plugs.
Should the cable tray be mounted at the rear center or towards one leg?
Mounting the tray slightly offset toward the primary monitor arm clamp optimizes cable reach while leaving knee clearance completely unobstructed.
How do you manage heat buildup from multiple high-wattage power bricks?
Choose open-air wire mesh trays and space power adapters at least one inch apart to encourage natural convective airflow.